Text & everyday tools · QR & Barcode Toolkit
Test a QR code before printing 500 copies: a scanning checklist
· Why it matters
qr-code printing validation
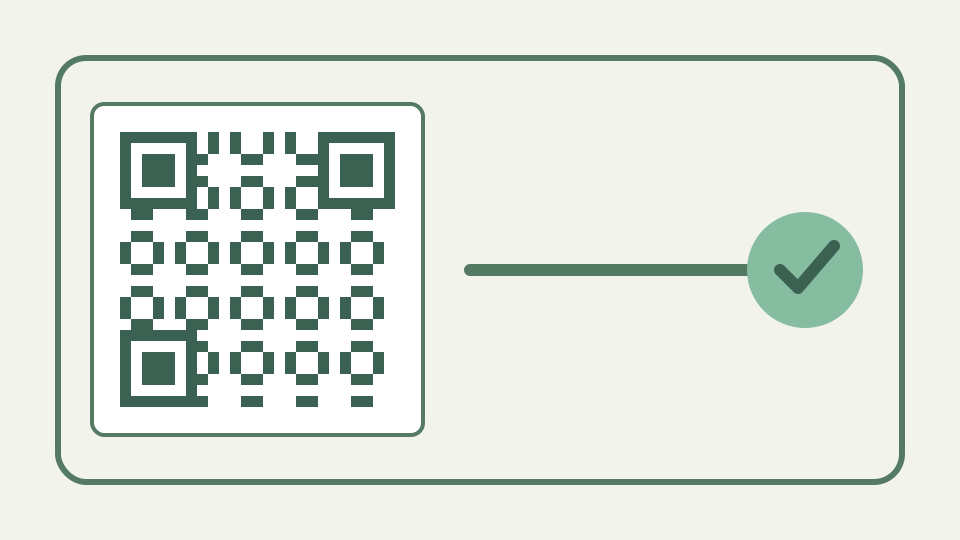
One scan on one phone is not a test; this checklist covers devices, distance, lighting, contrast, colour inversion and the destination itself, so the flyer works for every donor.
The flyer that scanned on the designer's phone and nobody else's — why a single successful scan proves little
One successful scan confirms only one combination of device, distance, lighting and rendered sample. A responsible print test varies those conditions and records failures, because marginal quiet zones or contrast can look fine on a designer’s screen.
The live preview gives an early warning but cannot reproduce the press. ToolAcre calculates contrast from the two selected colours, warns about inversion and adds the configured quiet zone; a print workflow can later rasterise the SVG, alter colours, crop the margin or place glare over the code. That is why the acceptance artifact must be a proof produced through the same layout and printer path as the final run, not a screenshot of the generator.
Check the destination first — the URL, the https prefix, mobile rendering and what happens when the page is slow
Open the decoded destination manually before testing the symbol. Confirm the scheme and spelling, load the page on a phone, and check that the intended action still works; a perfect matrix cannot repair a wrong URL or an unusable mobile page.
URL preparation can also change what is encoded. The link builder adds `https://` when no scheme is present and tells the user that it did so; it warns about plain HTTP, malformed addresses and schemes that may execute code. Read the exact payload under the preview before printing. A successful scan of a syntactically valid but unintended address is more dangerous than an obvious failure because it can survive every physical test.
Check across devices — older cameras, built-in camera apps versus scanner apps, and a phone with a scratched lens
Use built-in camera applications on more than one representative device instead of relying on a specialist scanner alone. Older cameras and damaged lenses are useful stress cases, but the goal is evidence from your audience’s likely equipment.
Device variety should be purposeful rather than theatrical. Include the oldest phone or built-in camera application your audience is likely to use, but record which combination failed and how. ToolAcre generates and does not scan, so no repository test can predict a scratched lens or vendor camera behaviour. If a specialist scanner succeeds while ordinary cameras fail, the flyer is not ready for an audience expected to use ordinary cameras.
Check the physical conditions — distance, angle, glare, low light, and the code on the actual paper stock
Print on the intended stock and test at realistic distance, angle and illumination. Glare, folds and trimming can change the physical symbol after a PDF proof looked correct, so approvals should follow the object rather than the source file.
Physical testing should include the failure edges: tilt until reflections appear, step back to the expected approach distance and try the dimmest normal light. Do not intentionally coach testers to centre the finder patterns or zoom. The code must work in the interaction you are publishing. When it fails, change one variable—size, placement, stock or colour—then repeat, so the next proof produces evidence rather than a collection of simultaneous guesses.
Check colour and contrast — dark modules on a light background, inverted schemes and brand colours that scanners see as grey
Keep dark modules on a light background and review ToolAcre’s contrast warning. Its checker reports low ratios and inverted colours, but those calculations support rather than replace scans of the final ink and substrate.
The contrast checker uses parsed hex colours and relative luminance. It distinguishes severely low contrast, low contrast and a below-target range, and separately warns when the nominal foreground is lighter than the background. Those messages are not a colour-management system: ink and paper can shift the effective result. Keep dark modules on a light field and treat the measured ratio as a screen-stage gate before physical proofing.
Worked example — a printable test sheet with the same code at three sizes, scanned by three people before sign-off
Place the same payload at three candidate sizes on one sheet, protect each four-module quiet zone, and ask three people to scan without coaching. Record device, distance and failure conditions before choosing the smallest reliable candidate.
A useful test sheet labels each candidate size outside its quiet zone and uses the same matrix, colours and correction level for all copies. Three testers can record whether each device acquires the code from the intended distance without repeated repositioning. If the smallest sample fails intermittently, reject it even when one person eventually succeeds. The purpose is choosing margin, not demonstrating that a determined operator can force a scan.
What this does not cover — professional print proofing and colour management
Professional colour management, press calibration and contractual print proofing remain outside the QR generator. Ask the printer about those controls when stock, coatings or brand colours create risks beyond a normal office proof.
Professional proofing becomes important when brand colour, coatings or outsourced presses are contractual requirements. ToolAcre provides vector geometry and a browser PNG, but it has no press profile, densitometer or knowledge of finishing. Preserve its SVG as the source and ask the printer how it will be rasterised. Any amended artwork should return through the same device and condition checklist before approval.
The takeaway — generate the code in the QR & Barcode Toolkit, run the checklist on a test print, and only then release the artwork
Generate crisp source artwork, test the destination, test physical samples and sign off only after representative scans. This checklist turns “it worked for me” into evidence that can survive a larger print run.
Sign-off should capture the exact payload, export file, correction level, final dimensions, stock and test results. That record lets a later team reproduce the proof or identify what changed. Generating a fresh code moments before release without comparing it to the tested asset resets the evidence. The operational rule is simple: ship the file that passed, with no cropping, recolouring or resampling after the final scans.